« Posts under Uncategorized

[Game] Digital Painting

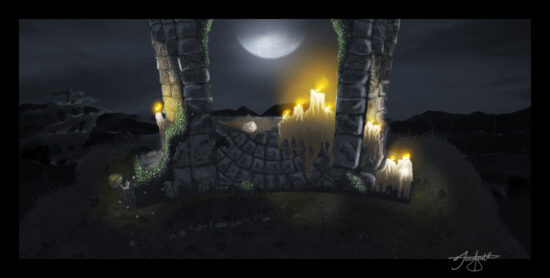
I don’t do digital painting that often, but I’ve been drawing more and I thought it would be fun to take a sketch from my pad and see it through digitally.

Photoshop CS4 was terribly slow through about half the process. I couldn’t even paint in real time on my tablet. I installed CS5 and the problem went away. No more slow down. At the MIGS convention last year one of the artist from Volt had a great suggestion. He mentioned that you can have two copies of the same document in Photoshop open at the same time. This helps you always have a one to one version up on a separate monitor. I loved doing this. It was really helpful to be zoomed in working on one screen and then be able to see how my changes were effecting the 1:1 scaled document on the other. This option is under the “Window” > “Arrange” menu.

I’ll be back soon with another project. I’m just testing out how I can create some really great looking moss using polygons. That’s part of why I painted some into this scene.

I also wanted to say “Thank you” to everyone who have been sending in questions. I’ve been getting a lot more than I usually do and they’re always fun to answer.

Digital Cliff Painting (http://www NULL.terrymatthes NULL.com/wp-content/uploads/2014/01/cliffpainting2 NULL.jpg)


MIGS 2013 Adventures

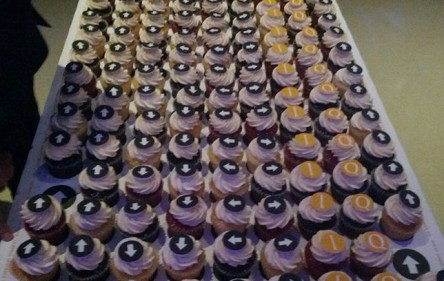
Konami Code Cupcakes

I decided to attend the Montreal International Game Summit and wow what a blast. I didnt meet anyone else from Winnipeg there, but that’s OK becuase I meet some really nice people who made me feel at home instantly. There were a lot of nice recruiters there and I would reccommend anyone with a portfolio ready to go attend. They gave me some great feed back and never made me feel like I was wasting my time even after standing in line for an hour to tak to some of them.

After the end of the first day I was standing alone in the lobby wondering how to kill time until the after party. To my left a man with a pretty sweet beard was handing out furry viking hats. I wanted one, but he gave away the last one in his hand before I could pipe up. I pretended to toil away on my smart phone not wanting to show the hurt I was masking inside for missing out. Somehow though he could sense my want. He called me out for pretending to look busy and said “Don’t you worry. We have more hats.” His kind smile melted my faux shell of pretentiousness. “Yes please” I said, and from that moment on they had a lonley Winnipeg puppy who was determined to make them his friends.

All of the team members from Big Viking were beyond nice and I wanted to say thank you for making me feel like one of the guys that weekend. We had a lot of fun at the MIGS party and they helped me meet some really great people from all over Montreal’s game industry. Go check them out at http://www.bigvikinggames.com/ (http://www NULL.bigvikinggames NULL.com/) and know they are doing their best to bring you really fun games.

Konami Code Cupcakes (http://www NULL.terrymatthes NULL.com/wp-content/uploads/2013/11/cupcake NULL.jpg)

[R&D] V-Ray WIP

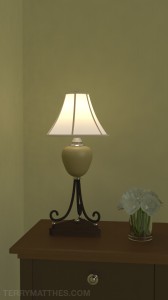
V-Ray Lamp Scene Work In Progress

Yeah that’s right… I’ve decided to finally check out VRay and I have to say that so far it’s been a lot of fun to work with. I haven’t gone through all the settings yet, but I’m trying to get through working on a piece while learning the suite. I’ve decided to render a bedside lamp and glass full of flowers. Most of the work so far has gone into the lamp shade and getting everything proportioned. One thing I will say is that linear workflow (gamma corrected workflow) is a lot easier in  VRay. Gone are the days of needing a gamma adjustment node on every single file texture you import.

V-Ray Lamp Scene Work In Progress (http://www NULL.terrymatthes NULL.com/wp-content/uploads/2012/10/lampTest3 NULL.jpg)While rendering I noticed that meshes through Maya’s smoothed approximation method (2 or 3 on your keyboard) weren’t showing up smoothed in the actual render. I fixed this by checking the radio box “Render viewport subdivision”  in the VRay global options. You should know that when you check this your render times might spike up. This is because by default VRay subdivides they smoothed preview many more times than you would actually need. You can fix this by going back into the “Render Globals” of VRay’s options and changing the displacement/subdivision group option max subdivision from 256 to down to something around 8. To light this scene I have a “rectangle light” for fill and a “spherical light” placed in the lamp shade. When I’ve progressed some more I’ll post more about the lamp shade material as well as the actual light values. Until then, cheers and good luck with all your renders :)


Late Night With Mental Ray

(http://www NULL.terrymatthes NULL.com/wp-content/uploads/2012/09/TMNIGHT2 NULL.jpg)I have wanted to try a late night render for some time and I got an excuse to do so recently. A lot of the time went into getting the final gather and global illumination to behave correctly.  There are two area lights outside the windows lighting the scene along with the two point lights; one in each lamp. The lamp’s point lights have their colour temperature controlled by a mib blackbody node set to around. The floor panel is a flat plane using a 2D bump (no normals) to pop out the individual floor planks. Underneath it, a wood texture to support this.

The ottoman in the middle of the room is procedurally textured using the 2D Texture Cloth node to create a fine bump across the surface as well as to define the diffuse colour of the fabric. Some unevenness is applied to the 2D Placement Node of the ottoman’s material to simulate uneven stretching of the fabric. This effect is applied subtly though. A stronger effect is the light shining through the surface of the lamp shade. This was achieved through using Maya’s default translucent property on a simple lambert shader. A yellowish colour was then picked for the diffuse and I turned down the diffuse value of the material to around “0.4”. The area light to the right of the scene is colored with a dim blue light to simulate the way your eyes desaturate colours in low light conditions. A blue tint was also added afterwards to the whole image in Photoshop. To achieve the final gather I wanted I used three point lights that didn’t cast diffuse or specular light. These point lights simply cast photons (around 300k each) to paint the rooms with final gather points. One point light was placed in the middle of each room. Before rendering I made sure to save out both my final gather and global illuminations passes. The cat on the couch was done using Maya’s native fur system. If I were to change anything I think I would paint a custom fur length map for the cat so the hair wasn’t the same length all over.

In Photoshop I applied an ambient occlusion render over the entire image, set it’s opacity to around 30% and changed  it’s layer’s draw type to multiply. I rendered this image out and an EXR and it gave me the ability to really pull the values of the scene in a wide range due to the raw nature of an EXR. To select the individual objects in the scene I rendered out a mask pass to make selecting the individual elements of the scene much easier. The mask pass was made as a separate render layer. I made 5 different Maya surface shaders and labeled them: red, green, blue, black, and white. I then applied these shaders to everything in the scene and made sure that no to objects with the same colour overlapped.

If anyone has any questions feel free to comment below or to contact me about the questions. Have a nice day :)

Breakfast Still Life – Final

Final Post Edited Render

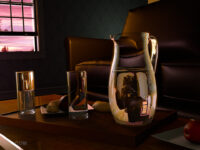
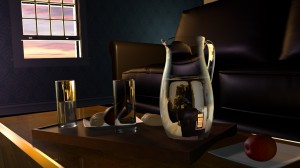
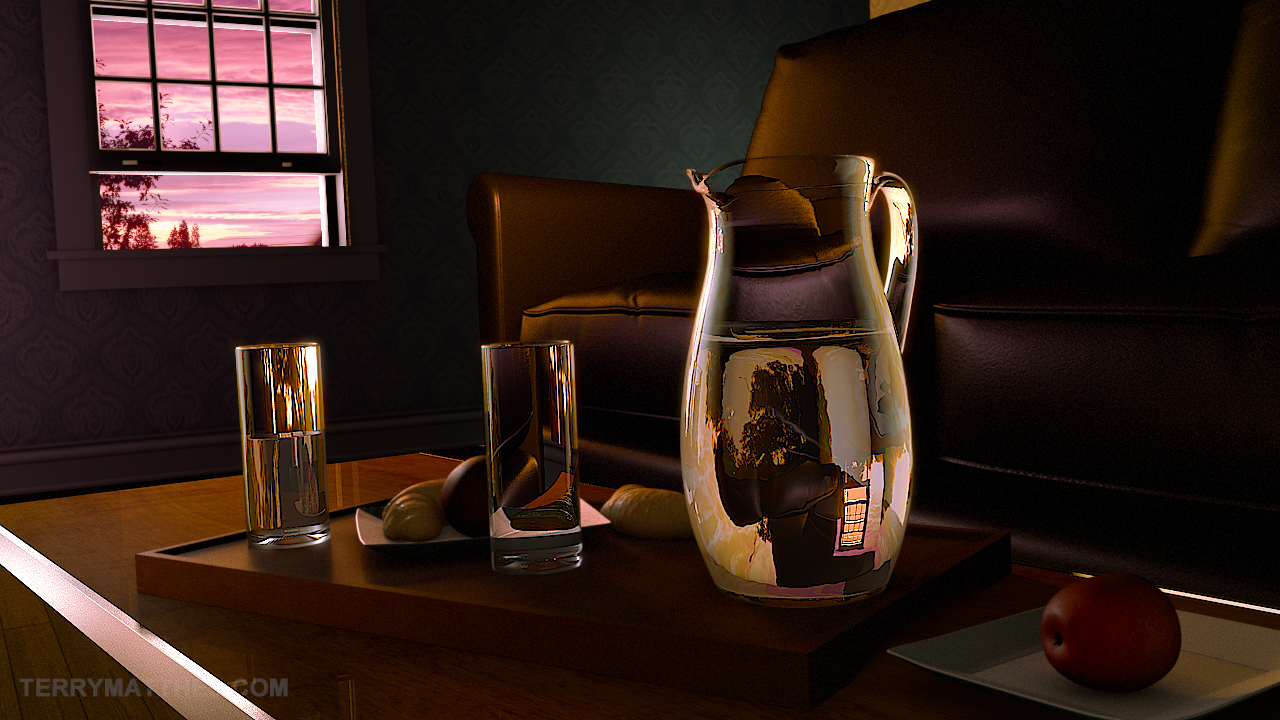
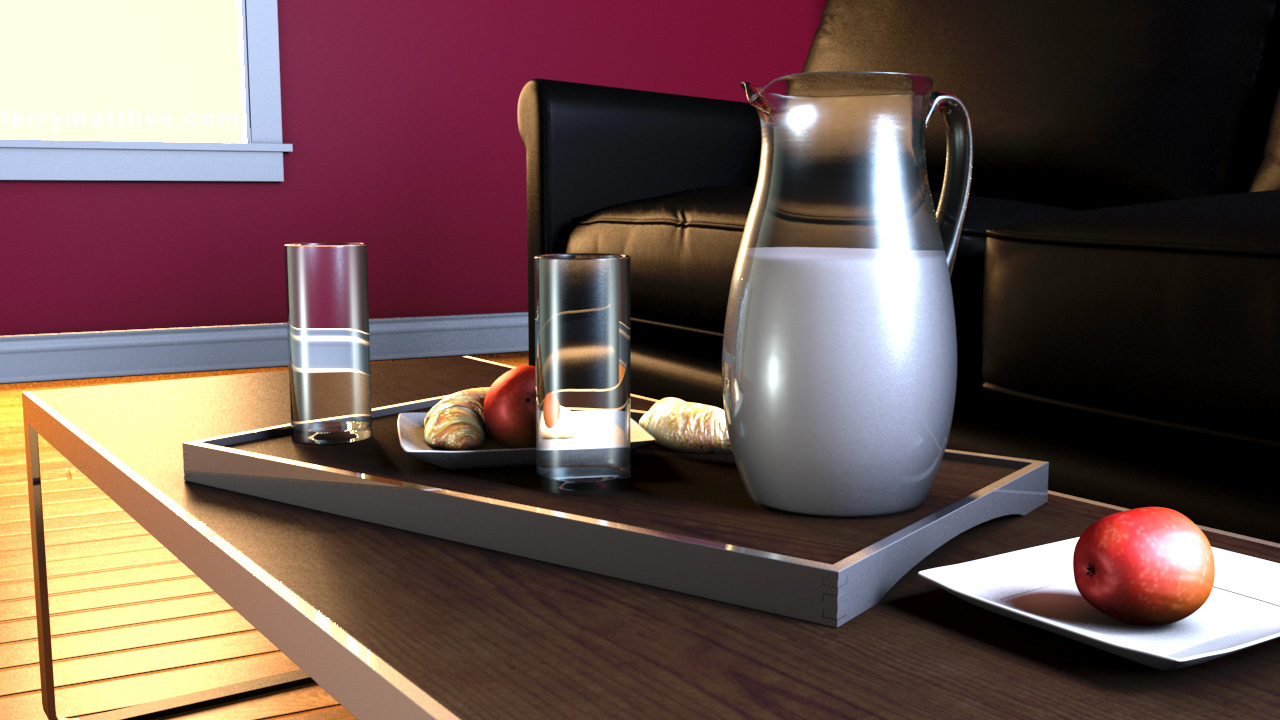
I finished the still life from my last post and then went ahead and did some post work in Fusion. All the major elements in the scene were rendered out on separate render layers in Maya. At first render layers seemed like a lot of work, but after setting them up the benefits are awesome. As always if you have any questions about the work flow feel free to leave a comment or email me. For those hoping to see pastries in the foreground… I’m sorry. I didn’t have enough time to give those croissants the care they needed. GG pastries in Mental Ray. GG.Below are my rough draft and raw render along with the final image. Next time I do a light setup I’m going to try and use the light fog in Maya instead of relying on Fusion. This is the first time I’ve ever used film grain in post and I think it may be a little heavy handed, but in my defense shooting in that low light would give you some strong grain.

Glass Render from Mental Ray (http://www NULL.terrymatthes NULL.com/wp-content/uploads/2011/10/PrePostStillGlass NULL.jpg)

Glass render untouched from Mental Ray

Early Test Render (http://www NULL.terrymatthes NULL.com/wp-content/uploads/2011/10/glassesRough NULL.jpg)

Rough Render for 3D Still

Final Post Edited Render (http://www NULL.terrymatthes NULL.com/wp-content/uploads/2011/10/TerryMatthe_GlassFinal NULL.jpg)

Breakfast Still Life – Rough

Rough Render for 3D Still Life involving glass

This image was created for my rendering class in college. We were given the objects and asked to properly light and render them. The style of render was left up to us. The challenge with this assignment is to get the glass looking right. Most of the objects needed to be unwrapped so that’s the first thing I did. Unlike my last apartment render (http://www NULL.terrymatthes NULL.com/general/news/apartment-final-render-thoughts/) this piece can contain no global illumination or final gather. Any bounced light is simulated with secondary light sources. I had to remodel the glasses as their were lots of strange triangles buggering up the reflections. The pitcher and the glasses have separate faces for the inside and outside of the object. Under the glass mesh render properties the objects are set to one sided.

One thing to keep in mind while rendering glass in Maya and Mental Ray is black surfaces. If you are rendering a translucent or semi translucent object and you are getting black artifacts or faces on your render then you need to increase your reflection rays in the object’s material properties. Reflections and refractions take a long time to render due to the amount of ray casting going on. Too many rays and you can drastically increase your render time. Too few and you’ll get black faces where the rays didn’t penetrate the objec. Reflections are a little tougher as you actually have to know what should be reflected. If you can’t see them at all it’s a littler tougher to guess which ones are missing. If you’re casting enough rays within each material and you’re still getting black faces then chances are you have not set your ray tracing limits high enough in the scene’s render settings. In case you didn’t know there is a master ray trace control found under the “Quality” tab in the render settings window.

The colours of the piece are still pretty loose. I was playing around with Adobe Kuler (http://kuler NULL.adobe NULL.com/) and though it was a pretty fun tool to choose a colour pallet. My biggest problem at this point is the strength of the lighting in relation to the floor reflections. I’d like to keep the light warmer (3500k), but I’d also like to get some less harsh reflections in the floor. Most of what’s left to do involved tweaking materials and finalizing a colour pallet. I might take a swing at Maya fur again, but we’ll see if time allows it. I’ve been working part time in while going to school and it’s really been cutting into the amount of time I have to get homework (let alone personal projects) done. I would cut my hours down, but at my work the minimum for part time is 20. I did find a wonderful way to save time though… I set my computer up so I can login remotely. This makes it a lot easier to setup and look at renders. I suppose I could just batch render multiple files with a script, but I wouldn’t be able to change anything after I leave home. I don’t know about you guys, but I frequently get hit by ideas while out and about and this lets me incorporate those changes into the renders.

Rough Render for 3D Still Life involving glass (http://www NULL.terrymatthes NULL.com/wp-content/uploads/2011/10/glassesRough NULL.jpg)

Apartment Final Render Thoughts

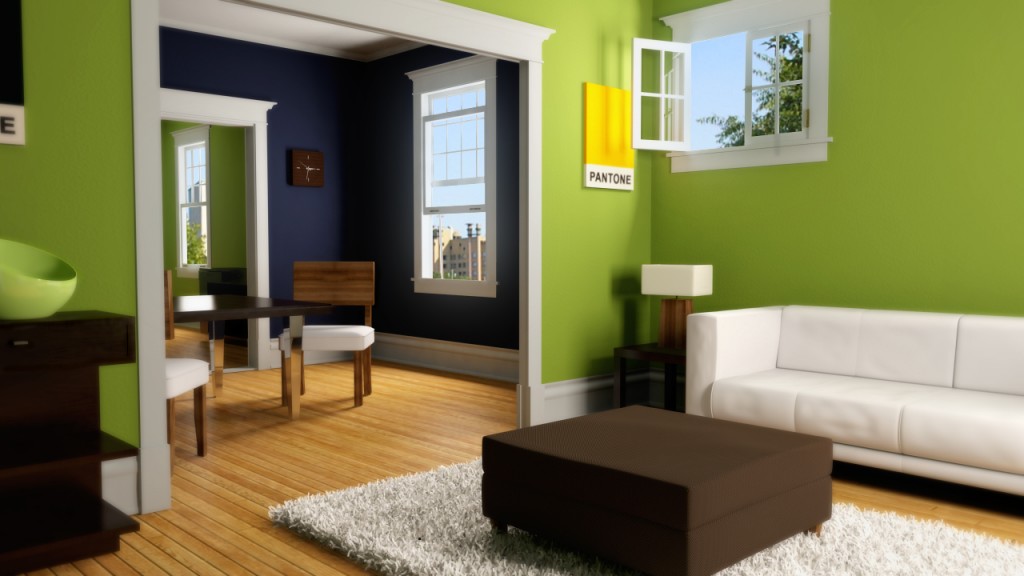
For now I’m finished with this apartment render. I’ve learned a lot, but it’s time to move on to another project. I will definitely revisit this in the future as I learn more about Mental Ray. I think the most challenging part for this project was fine tuning the global illumination and final gather settings. This is the first time I have worked with either. The fur system was really easy to use and while there are a lot of settings most of them just let you add randomization to the basic properties. The fur and fabric shader on the ottoman required a lot of anti aliasing to catch-all the crisp detail.

The final settings for anti aliasing in the “quality” tab were set to “adaptive” and 4. If I did it again I would have set the final quality control to 3 as I found 256 samples is a little over kill and takes almost twice as long as when set to 3. Keep in mind though that the setting is not “mandatory”. That means that not every pixel is getting 256 samples, just the ones that Maya determines need it. I’m not quite sure how the algorithm works that controls this, but it is something I plan to look into. In retrospect I don’t think I would ever paint a room that bright of a green, but you must have fun with these kinds of projects; right? :D

On a side note, I was at the gas station the other day and while I was waiting in line I found a great magazine called “Elle Decor” (http://www NULL.elledecor NULL.com/). I’m pretty sure it’s aimed at women, but it’s got a ton of really sweet interior designs inside that are giving me lots of inspiration. More posts soon. If you have questions ask away.
(http://www NULL.terrymatthes NULL.com/wp-content/uploads/2011/06/apt1 NULL.jpg)

Apartment Render Update + Maya Fur

Detailed Portion of the Full Resolution Render

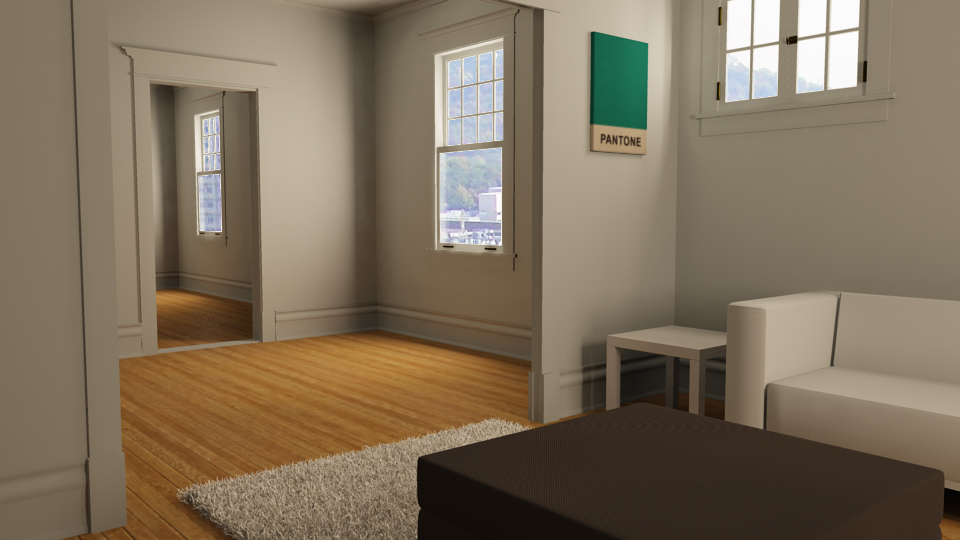
I’m just about 70% done my apartment render so I thought I would post an update. This is a to scale model of my old apartment. I had some previous renders, but the scale was off (really off) and it was causing all my lightning to be blown out. After Fixing the scale I noticed I was getting black renders even though Global Illumination and Final Gather were working properly. The issue was that my portal light’s intensity wasn’t near strong enough. I had to jack it up to about 2 billion! Crazy. I eventually toned it down to 1 billion, but anything under that and the light really dies off quickly.

As far as assets go I have modeled a sofa table and television which don’t appear in this render, but they will be in the next one. I think I’m also going to take out the couch for now because I just ordered one of the best leather sofas (http://fineleatherfurniture NULL.com/leather-furniture-blog/blog-list/513-the-best-leather-furniture-manufacturers-quality-not-quantity) to replace it, and I don’t have the space needed or time to give the old couch model the love it needs.
The shag carpet was really fun to work on. I’ve never used the Fur System in Maya before, but after the Introduction To Maya Fur (http://www NULL.digitaltutors NULL.com/11/training NULL.php?cid=42&pid=264) on Digital Tutors (http://www NULL.digitaltutors NULL.com) I really was excited to give it a try. I used carpet texture on a plane and told the fur system to grab its base and tip colours from that. going forward I think I might make the base and tip of the fur a little thicker. Other options were played with such as “scraggle”, “poll”, and “inclination”. It’s worth noting that under the Fur Feedback Description node there is a section called “Details”. Under this section you can add randomness to all the attributes. If you’re interested in all of the different fur properties there is a good textual resource over at http://caad.arch.ethz.ch/info/maya/manual/MayaFur/UserGuide/2CreatingFur.fm.html#176880 (http://caad NULL.arch NULL.ethz NULL.ch/info/maya/manual/MayaFur/UserGuide/2CreatingFur NULL.fm NULL.html#176880)

When it came to picking a backdrop I just grabbed something off of Google image search for the time being. I quickly used the layer properties of the render in Photoshop to drop out the windows as they were solid white. For the final shot I think I’ll climb my old fire escaped and snap a shot with my Wife’s camera. She has a nice Cannon 40D. I don’t plan on using HDRI for image based lightning just yet, but maybe I will set myself up so I can experiment with that another time :)

One thing I did notice in the render was the aliasing lines in the ottoman’s fabric. The lines stayed there when I raised the anti-aliasing to adaptive sampling set @ 64 samples. They went away when I tested that area with 256 adaptive samples.

At any rate here is the shot and if you have any question just ask in the comments or fire me an email. I’m around computers all the time so I respond fairly quickly to questions. I’m going to have this done in the next couple days so expect a finished post soon. I will also include depth of field in the final render. Above the full scene render is a detail render of the scene at full scale.
Detailed Portion of the Full Resolution Render (http://www NULL.terrymatthes NULL.com/wp-content/uploads/2011/05/detail NULL.jpg)

.
Apartment Render Test 02 (http://www NULL.terrymatthes NULL.com/wp-content/uploads/2011/05/apartmenttest2 NULL.jpg)
Colour Temperature Tests

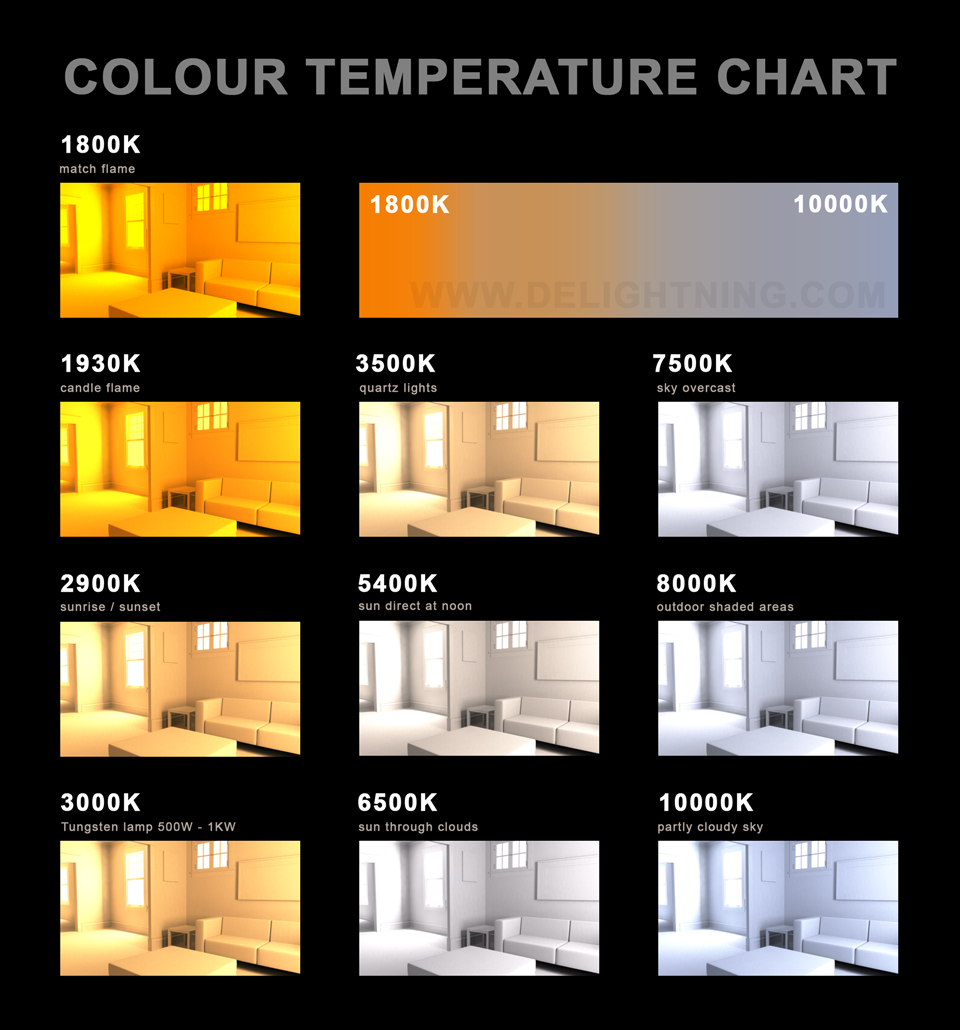
Colour Temperature Chart using area lights and mib_black body in Maya

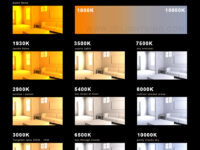
Just a quick post here. I took my apartment scene from earlier and rendered it out with a range of light temperatures. The chart below will show you 10 separate renders at varying colour ranges. I just changed the mib_blackbody value in each of the renders. You should keep in mind that some of these colours will never get as bright as they are seen here. An example would be the first temperature shot @ 1800K. This is the colour for match flame. You would never have a room lit this bright with just matches. I think for artistic reasons it does serve a purpose to see the end result of such a setup. Enjoy.

Colour Temperature Chart using area lights and mib_black body in Maya (http://www NULL.terrymatthes NULL.com/wp-content/uploads/2011/04/temperature-chart NULL.jpg)
.