 (http://www NULL.terrymatthes NULL.com/wp-content/uploads/2015/09/cycad NULL.jpg)
Work has been interesting lately as you may or may not know Mortal Kombat X has been canceled on last gen and I had been working on that for the last 7 months, so that was a bit of a blow. I’m on to a new project though and a publisher I’ve never worked with before so things are new and interesting in that respect. In my spare time I’ve been reading about and really loving the updates to the Unreal Engine for instanced foliage. I’ve taken it upon myself to follow in Koola’s footsteps and create some amazing forest work. If you haven’t seen his work check out his Youtube channel (https://www NULL.youtube NULL.com/user/koooolalala) or WIP thead (https://forums NULL.unrealengine NULL.com/showthread NULL.php?58385-Koola-s-stuff) over at the Epic Games forums. If you’re not aware there have been some big changes to instanced foliage and you can now use Dynamic GI to light them. Coupled with DFAO (https://docs NULL.unrealengine NULL.com/latest/INT/Engine/Rendering/LightingAndShadows/DistanceFieldAmbientOcclusion/index NULL.html) (Distance Field Ambient Occlusion) and Ray Traced Shadows (https://docs NULL.unrealengine NULL.com/latest/INT/Engine/Rendering/LightingAndShadows/RayTracedDistanceFieldShadowing/index NULL.html#settings) it means no more waiting for crazy long lighting bakes. All this realtime lighting does come at a cost though and the performance hit isn’t small. To keep up I’ve had to upgrade my system, but it’s been due for a while.
My current rig (Intel Q9550 @ 2.9Ghz with 8GB RAM, Nvidia 560Ti and 10K RMP HDD) is 7 years old. I’ve decided to follow Epic’s suggestions (https://answers NULL.unrealengine NULL.com/questions/21631/im-building-my-own-pc-for-ue4-development-what-do NULL.html) and upgrade to a i7 5820k (6 core 3.3Ghz) with 32GB RAM and 2 SSDs. The only difference is I chose to go for an Nvidia 960 instead of a 770. With the new Nvidia line (http://wccftech NULL.com/nvidia-pascal-gpu-gtc-2015/) boasting a 10x performance increase coming out next year, I’m going to hold off on a major video card upgrade until then. If you’re interested in trying out the new GI system head over here (https://docs NULL.unrealengine NULL.com/latest/INT/Engine/Rendering/LightingAndShadows/LightPropagationVolumes/index NULL.html) to learn about Light Propagation Volumes and how to enable them in the new engine, there’s some “.ini” tweaking involved.
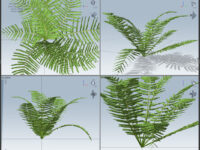
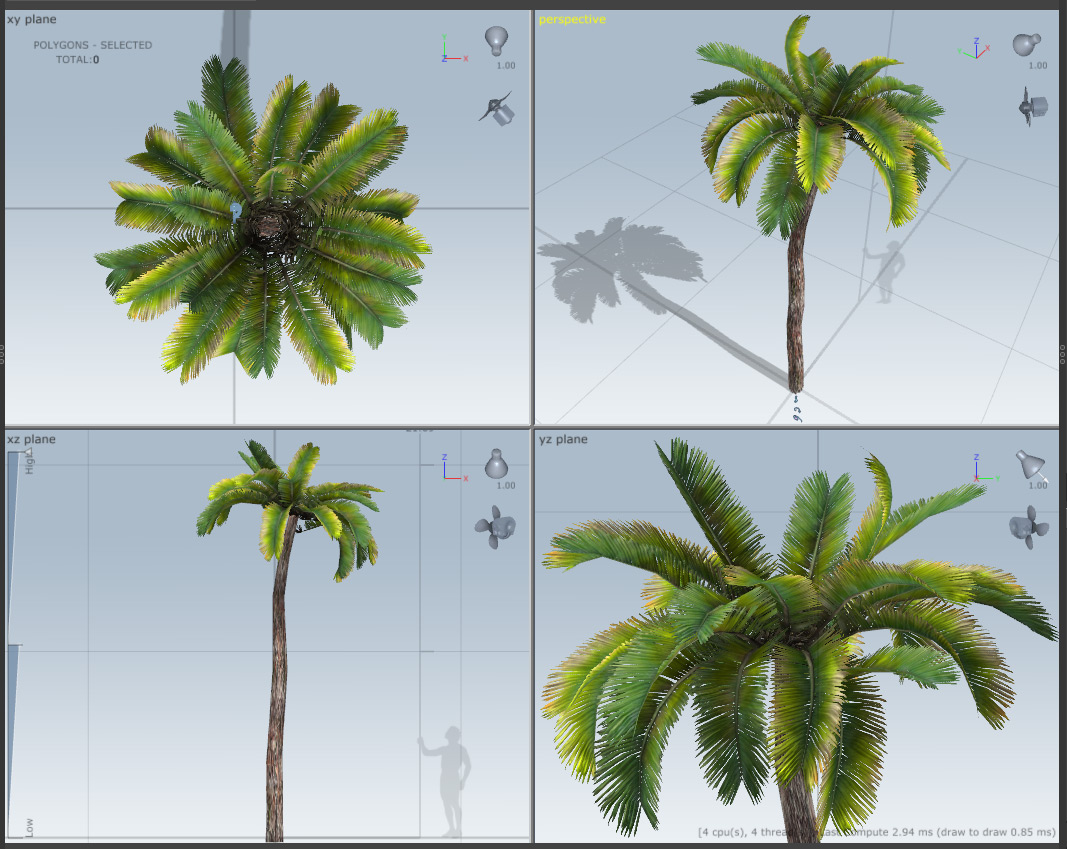
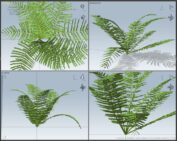
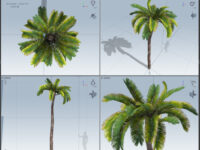
To test this out I’m creating a small Mesozic forest and I’ve Pinned some reference (https://www NULL.pinterest NULL.com/terrymatthes/prehistoric-forests/) up for anyone who wants to follow along. The biggest difference between forests in the Mesozoic and now is the lack of grasses. Ferns largely took their place. As a species grass didn’t evolve until about 70 Million years ago, which means it missed most of the dinosaurs. Another big difference is the shear amount of Cycads (https://en NULL.wikipedia NULL.org/wiki/Cycad) and Ginko Bilobas (https://en NULL.wikipedia NULL.org/wiki/Ginkgo_biloba). As you can imagine it would be nice to put a dinosaur in this forest, but I’m trying to concentrate on the forest itself and I’m looking locally for someone to collaborate with on the dinosaur(s). I’ve started to create speed tree templates I can work from for the plants while I wait for my new system to arrive. I’m not worrying about LOD too much right now as some early tests showed it’s handled automatically quite well by the Unreal Engine and Speedtree. One thing that’s not though is the lightmap UVs. They are OK, but do need tweaking. Your material also makes a HUGE difference. If you’re expecting to plop plants into your level with a directional light they are not going to look super. You need to put some work into a good material that will properly shade your plants. Here are three of the plant templates I’ve came up with so far. A couple of these are based on speed tree models that were tweaked for performance. I’m going to follow Koola’s suggestions and keep the lowest LOD’s at or below 7K polys. For now I’m using the default Speedtree textures, but will create high resolution custom ones for the final output. The elevation data for this project is based on GIS data from The National Map Viewer (http://nationalmap NULL.gov/viewer NULL.html). When that becomes a bigger part of the project I’ll expand upon how that’s being used.
 (http://www NULL.terrymatthes NULL.com/wp-content/uploads/2015/09/FernHigh NULL.jpg)
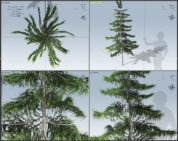 (http://www NULL.terrymatthes NULL.com/wp-content/uploads/2015/09/ConiferSmall NULL.jpg)
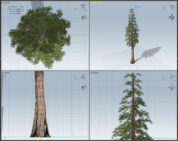 (http://www NULL.terrymatthes NULL.com/wp-content/uploads/2015/09/CedarTall NULL.jpg)
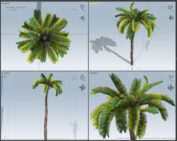 (http://www NULL.terrymatthes NULL.com/wp-content/uploads/2015/09/cycad NULL.jpg)

 (http://www NULL.terrymatthes NULL.com/wp-content/uploads/2023/10/VillainCon NULL.jpg)
 (http://www NULL.terrymatthes NULL.com/wp-content/uploads/2023/10/20230422_202021 NULL.png)

 (http://www
 (http://www